Prerequisite: SOP 02 complete — a verified Google Business Profile (Bing imports from it)
What you're building: the three listings beyond Google that actually move the needle — Bing Places (feeds Bing, Copilot/AI answers, DuckDuckGo, Yahoo, Windows search), Apple Business (feeds Apple Maps, Siri, CarPlay, Spotlight on ~1B devices), and Yelp. Plus quick wins: Nextdoor and BBB.
The one rule that rules them all: identical NAP. Name, Address, Phone must match the website and the Google Business Profile character-for-character on every listing. Mismatched listings hurt trust everywhere.
⛔ Before you start — you must have ALL of these
| # | Item | Why |
|---|---|---|
| 1 | Verified Google Business Profile (SOP 02) | Bing imports from it |
| 2 | A Microsoft account for the client | Owns the Bing listing |
| 3 | An Apple Account for the client | Owns the Apple listing |
| 4 | The canonical NAP + hours + categories + description from SOP 02 | Copy exactly, never retype from memory |
| 5 | Business license or a utility bill showing name + address (digital copy) | Apple may require document verification — 14-day deadline |
| 6 | Access to the business phone and domain email | Verification codes |
| 7 | 10+ real photos (logo, exterior, interior, team, work) | Every directory wants them |
Part A — Bing Places for Business (20 min)
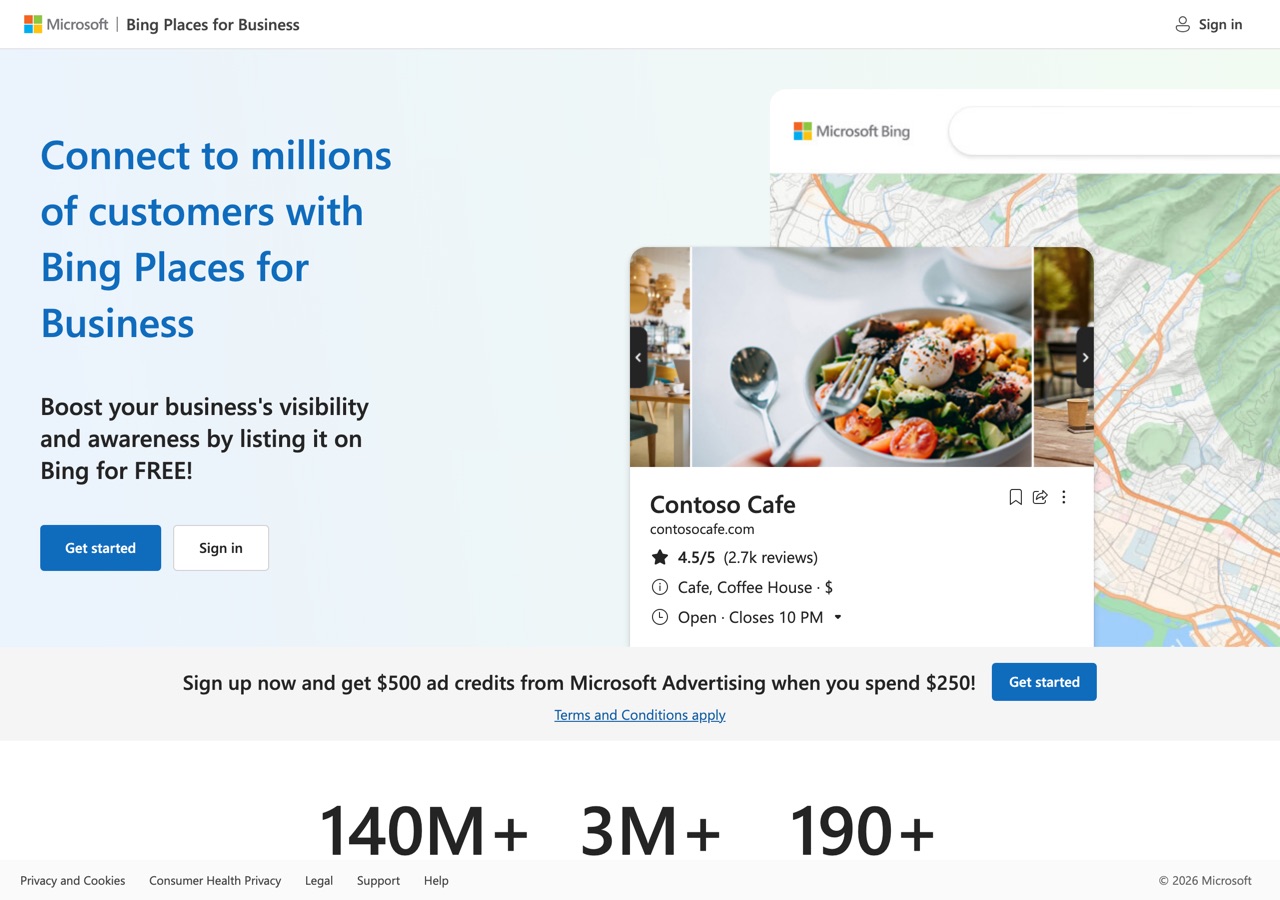
⚠️ 2025 change: Microsoft relaunched Bing Places in October 2025 and moved it to bing.com/forbusiness (old bingplaces.com guides are outdated). Existing listings migrated automatically.
Step 1 — Sign in
Go to bing.com/forbusiness and sign in with the client's Microsoft account.
Step 2 — Search first
Search the business name + city.
👀 You should see: either an existing (auto-generated) listing → claim it, or nothing → add a new business. One listing per location, always.
📸 images/06-step-2.png — the Bing search/claim screen.
Step 3 — Import from Google (the shortcut)
Choose the import from Google Business Profile option → sign in with the Google account that owns the verified GBP → approve access.
👀 You should see: name, address, phone, hours, categories, photos, and description pull in within minutes.
Decide on ongoing sync: ON means future Google updates flow to Bing automatically (easy, but Google data will overwrite any Bing-only edits). For most clients: leave sync ON.
🚩 No Google profile to import? Fill the fields manually — copy-paste from the SOP 02 record, never retype.
Step 4 — Verify
Bing sends a PIN via email (business-domain address — instant), phone call/SMS, or postcard (~5–6 business days) — whichever it offers. Enter the PIN in the dashboard.
⚠️ Nothing shows publicly until verified. Some Google-imported listings skip the PIN — nice when it happens, but don't count on it.
Step 5 — Close the gaps
Run Bing's built-in Recommendation Tool — it flags what's missing (photos, hours, categories). Fix everything it lists, and spot-check that imported categories/photos mapped correctly.
📸 images/06-step-5.png — the dashboard with the Recommendation Tool.
Part B — Apple Business (formerly Apple Business Connect) (20–30 min)
⚠️ 2026 change: In April 2026 Apple merged Business Connect into a single platform called Apple Business. Old "Business Connect" guides describe the same features. Start at businessconnect.apple.com — it routes into the current portal.
Step 6 — Register
- Open the portal → Get Started → sign in with the client's Apple Account. ⚠️ The first account to sign in becomes the Administrator — so this must be the client's account, not the agency's. (Agencies can register separately as a Third-Party Partner and be granted access.)
- Accept the terms; enter the legal company name and address; pick the account type (usually Small Business).
Step 7 — Verify the company (14-day deadline!)
Pick whichever method Apple offers:
- Phone verification — fastest (approved as soon as the code is entered).
- Document review — upload the business license or utility bill (name + address must match) — up to 5 business days.
- Domain validation — add a TXT record to the website's DNS.
⚠️ You have 14 days from registration to finish verification, so have the documents ready before you register — don't start the clock and then go document-hunting. Verification can also be delegated to someone at the client if needed.
📸 images/06-step-7.png — the verification method chooser.
Step 8 — Claim the location
Sidebar → Locations → Add → search Apple Maps for the business → claim the existing place card (or create a new location if it's truly absent).
Claim even if the card "looks fine" — unclaimed cards are built from third-party data and rot.
Step 9 — Complete the place card
Fill: phone, website, address or service area, categories, hours, description, attributes — identical to Google. Upload the cover photo and gallery.
Step 10 — Add a Showcase (the free promo slot)
Showcase = a promotional banner on the place card: headline + text + image + CTA button (Order / Reserve / Book / Call, depending on category). Showcases are time-boxed (~30 days) — put a refresh reminder on the client's content calendar so it never sits expired.
👀 You should see: the completed place card previewed as it will appear in Apple Maps.
📸 images/06-step-10.png — the finished place card with Showcase.
Part C — Yelp for Business (20 min)
Step 11 — Search, then claim or add
- Go to biz.yelp.com/claim and search the business name + location.
- Page exists (Yelp auto-creates pages) → click it → create the Yelp for Business account with the client's email → claim.
- No page → click Add to Yelp for free → submit name, address/service area, phone, website, categories, hours. Human moderators review — usually approved within ~24–48 h (email arrives) — then claim it.
Step 12 — Verify
Enter the code Yelp sends by email, or text/call to the phone number on the page.
👀 You should see: the business dashboard at biz.yelp.com with the page under the client's control.
📸 images/06-step-12.png — the claim flow and verified dashboard.
Step 13 — Complete the free page (everything the client needs is free)
Fill it all: hours, categories, services, attributes/amenities (they're search filters on Yelp), the "From the Business" description/specialties/history sections, and 10+ real photos. Turn on and monitor the inbox — response rate and speed to "Request a Quote" messages are shown publicly.
Step 14 — Brace for the sales calls
Expect aggressive calls from Yelp sales after claiming ("ad credits," "$300 off"). The client needs none of it: Yelp Ads and the Upgrade Package (~$6/day for CTA button, slideshow, competitor-ad removal, etc.) are optional. Decline politely and the free page keeps working. Consider claiming with a monitored generic inbox to contain the follow-up.
🛑 Step 15 — The Yelp review rule (opposite of Google!)
On Yelp, you must NOT ask customers for reviews. At all. Yelp's official policy ("Don't Ask for Reviews") bans soliciting from customers, friends, family, or email lists — and its filter demotes reviews that look solicited into "not recommended," which can lower the visible rating. Incentivized reviews are banned everywhere and an FTC problem on top.
Allowed: passive signals — "Find us on Yelp" sticker/link, great service, responding to every review (brief public thanks for positives; calm public reply + private message for negatives).
⚠️ Train this explicitly: the Google habit ("send every customer the review link") is a policy violation on Yelp. Same agency, two opposite rules.
Part D — Bonus listings (15 min, optional but cheap wins)
| Listing | Do this | Skip this |
|---|---|---|
| Nextdoor (business.nextdoor.com) | Claim the free Business Page — neighbor recommendations are gold for home/local services; 2 free posts/month reach everyone within 2 miles | Paid Local Deals until organic proves out |
| BBB (bbb.org/get-listed) | Claim the free profile and answer any complaints — it ranks high in branded searches | Paid Accreditation (the seal) unless the client specifically wants it |
| Angi | Claim the free basic profile to hold the brand | Angi Leads (pay-per-lead, shared with competitors) — a separate, cautious decision, never a default |
✅ DO / ❌ DON'T
| ✅ DO | ❌ DON'T |
|---|---|
| Finish Google (SOP 02) first, then import into Bing | Don't retype listing data by hand — copy from the canonical record |
| Keep NAP identical everywhere, character-for-character | Don't "improve" the name or address on one directory |
| Claim existing auto-generated listings on all three platforms | Don't create duplicates next to unclaimed listings |
| Register Apple with the client's Apple Account; have verification documents ready before starting the 14-day clock | Don't make the agency the Apple Administrator, and don't register before the documents are in hand |
| Verify every listing immediately (nothing publishes unverified on Bing) | Don't leave listings half-verified "to finish later" |
| On Yelp: complete the free page, respond to all reviews and quote requests | Don't buy Yelp Ads/upgrades by default, and never ask anyone for a Yelp review |
| On Google: keep asking every customer for reviews (that's allowed there) | Don't apply Yelp's rule to Google or Google's rule to Yelp |
| Put Apple Showcase refresh + quarterly listing audits on the calendar | Don't set-and-forget — synced and auto-generated data drifts |
☑ Definition of Done
- Bing: listing claimed/created at bing.com/forbusiness under the client's Microsoft account, imported from Google, verified, Recommendation Tool cleared, sync decision recorded
- Apple: company registered and verified under the client's Apple Account, place card claimed and completed, Showcase live, refresh reminder scheduled
- Yelp: page claimed/added and verified, free profile 100% complete with 10+ photos, inbox monitored, review policy briefed to the client, sales-call expectations set
- Bonus: Nextdoor + BBB claimed (and Angi free profile where relevant)
- NAP verified identical across Google, Bing, Apple, Yelp, and the website
- All logins recorded in the client's password-manager entry
- 📸 screenshots captured at every marked step and saved to
images/