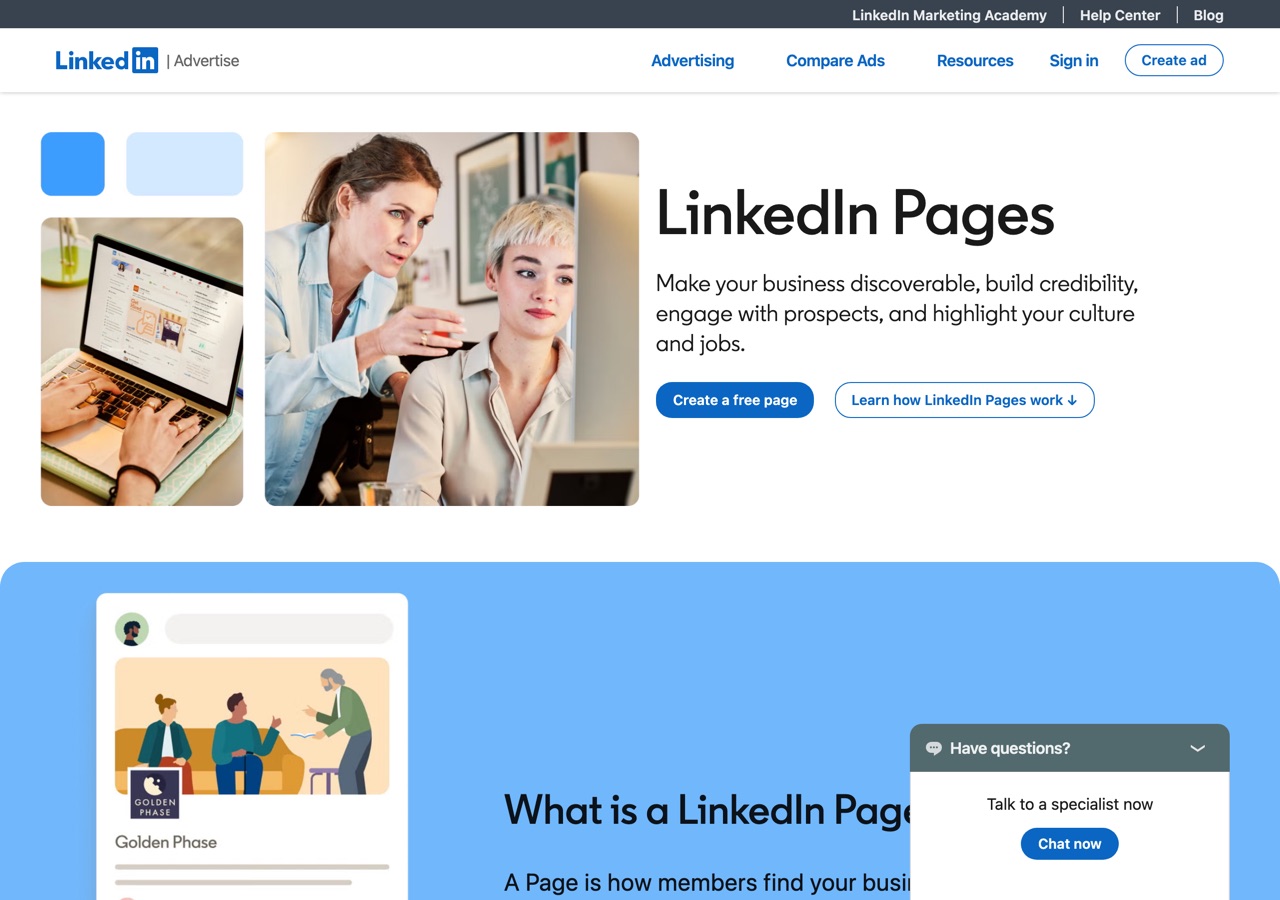
What you're building: A LinkedIn Company Page for the business — the business's official home on LinkedIn. There is no separate "business login": the Page is created from, and managed by, a real person's personal LinkedIn account. Whoever creates it automatically becomes its first super admin.
⛔ Before you start — you must have ALL of these
Stop and collect every item first. If one is missing, get it before you begin.
| # | Item | Why |
|---|---|---|
| 1 | A personal LinkedIn account for a real person at the business (real first + last name, confirmed email) | Pages can only be created from a personal account |
| 2 | That account is more than 7 days old | Brand-new accounts are blocked from creating Pages |
| 3 | That account has real connections (not zero) | LinkedIn blocks zero-connection accounts from creating Pages |
| 4 | That account's profile is filled out: photo, headline, and the business listed as a current position in Experience | LinkedIn checks that you appear to actually work there |
| 5 | A work email on the company's domain (you@company.com — not Gmail) added and confirmed on the account | On LinkedIn's requirements list; also unlocks verification later |
| 6 | The business's exact name, website URL, industry, and company size | Asked during creation |
| 7 | Logo file — square, 400 × 400 px PNG or JPG | Uploaded during creation |
| 8 | Banner image — 1128 × 191 px, key content centered | Uploaded right after creation |
| 9 | Approved tagline (max 120 characters) and About text (max 2,000 characters) | Copy/paste, don't improvise |
| 10 | A computer (desktop browser) or iPhone app | ⚠️ Page creation is not supported on the Android app |
🚩 Before creating anything, search LinkedIn for the company name. If a gray, empty "Listing Page" already exists for the business, do not create a duplicate — claim the existing one instead (LinkedIn Help: "Claim a LinkedIn Listing Page"). Duplicate pages are the #1 mess we have to clean up later.
Part A — Create the Page (10 min)
Step 1 — Sign in
Sign in at linkedin.com with the personal account that will own the Page (the client's account, not your agency account — see the DO/DON'T table).
👀 You should see: the normal LinkedIn home feed.
Step 2 — Open the business menu
Click the For Business icon — the grid of nine dots at the top right of the page.
👀 You should see: a panel slide out on the right listing LinkedIn products.
🚩 If yours says "Work" instead of "For Business": same thing — LinkedIn has used both labels. It's always the grid icon, top right.
📸 images/03-step-02.png — screenshot of the top navigation with the grid icon circled.
Step 3 — Click "Create a Company Page"
Scroll to the bottom of that panel and click Create a Company Page.
👀 You should see: a page-type chooser with options like Company, Showcase page, and Educational institution.
📸 images/03-step-03.png — the page-type chooser, "Company" circled.
Step 4 — Choose "Company"
Click Company. (Showcase pages are sub-pages of an existing Company Page — you'll never need one on day 1.)
Step 5 — Enter the Page identity, one field at a time
- Name: type the official business name, exactly as it appears everywhere else (character-for-character NAP consistency).
- linkedin.com/company/ URL: LinkedIn suggests one from the name. Keep it lowercase and hyphenated (e.g.,
linkedin.com/company/blue-peak-plumbing). Get this right now — changing it later breaks existing links. - Website: paste the full URL including
https://.
👀 You should see: green checkmarks / no red error text under each field. A red error under the URL means it's taken — try adding the city or "co" (e.g.,
blue-peak-plumbing-tx).
Step 6 — Enter the company details
- Industry: start typing and pick the closest match from LinkedIn's list (you must pick from the list — you can't type a custom one).
- Organization size: pick the employee range.
- Organization type: e.g., Privately held, Self-employed, Partnership.
Step 7 — Upload the logo and tagline
- Click the logo box and upload the 400 × 400 px logo.
- Type the approved tagline (120 characters max).
👀 You should see: a live preview of the Page on the right side updating as you type.
📸 images/03-step-07.png — the creation form with preview panel visible.
Step 8 — Check the authorization box
Check the box confirming you are authorized to act on the organization's behalf.
👀 You should see: the Create page button turn from gray to clickable. It stays disabled until this box is checked.
Step 9 — Click "Create page"
👀 You should see: the Page's admin view with a "Build your page" setup checklist.
🚩 If you get an error instead: the personal account fails one of the Before-you-start requirements (too new, no connections, incomplete profile, or company not listed as current employer). Fix the requirement — do NOT try to work around it with a fake or duplicate account.
📸 images/03-step-09.png — the fresh admin view with the setup checklist.
Part B — Complete the Page (15 min)
Work through these in the admin view (Edit page button). A complete Page earns up to 30% more weekly views (LinkedIn's own statistic) — so every field gets filled, no exceptions.
Step 10 — Banner image
Edit page → upload the 1128 × 191 px banner. Keep text/logo in the center — mobile crops the edges.
👀 You should see: the banner behind the logo at the top of the Page, nothing important cut off on the preview.
Step 11 — About / description
Paste the approved About text (up to 2,000 characters). The first two lines show before "…see more," and Google indexes this text — so the first sentence must say what the business does, for whom, and where.
Step 12 — Specialties
In the same About edit screen, add up to ~20 Specialties — the services/keywords clients search for.
Step 13 — Location(s)
About → Locations → + Add location → enter the street address exactly as on the website and Google Business Profile.
Step 14 — Custom button
Edit page → turn on the custom button and pick one of the five options: Visit website · Contact us · Learn more · Register · Sign up, plus the destination URL. For most clients: Contact us → the site's contact page.
Step 15 — Workplace module (optional)
If the client hires: About section → Workplace module → set Remote / Hybrid / On-site.
Step 16 — Add a second super admin
Settings → Manage admins → Add admin. Add at least one more person from the business as Super admin, and add the agency contact with the lowest role that does the job (usually Content admin).
The roles, from most to least power: Super admin (everything, incl. deactivating the Page) → Content admin (posts, events, jobs) → Curator (recommended content + analytics; only on larger public-company pages) → Analyst (analytics only).
🚩 If you can't find the person: you generally must be a 1st-degree connection to add them — connect with them first, then add.
⚠️ A Page with only one super admin is a time bomb. If that person leaves or loses their account, the business loses its Page. Two super admins minimum, and the client always keeps super admin — never only the agency.
Step 17 — First post + follow invitations
- Publish one post (an intro: who the business is, what it does, link to the site) so visitors don't land on an empty feed.
- Have team members add the business as their current employer on their profiles.
- Use Invite connections to invite real, relevant connections to follow. ⚠️ Invitation credits are limited per month (LinkedIn cut the pool — as low as ~50/month on free pages), so spend them on likely customers/partners, not everyone.
Step 18 — Check verification
Settings → Verification. If the Page is eligible, request the verified badge (broad availability requires a Premium Company Page subscription; some pages qualify via waitlist). Also have admins complete free workplace verification on their personal profiles using the company-domain email. Don't promise the client a badge — availability varies.
✅ DO / ❌ DON'T
| ✅ DO | ❌ DON'T |
|---|---|
| Create the Page from a real person's account at the business | Never create a personal profile named after the business ("Acme Corp" as a person). This violates LinkedIn's User Agreement — the profile can be deleted and takes the Page down with it |
| Search LinkedIn first and claim an existing Listing Page | Don't create a duplicate Page next to an existing one |
| Keep two or more super admins, client included | Don't leave the agency as the only super admin, and never use a shared/fake login to hold access |
| Fill every field (30% more views for complete pages) | Don't publish a shell page with no logo, banner, or About |
| Nail the public URL at creation | Don't rename the URL later without a reason — it breaks existing links |
| Post at least weekly (weekly-posting pages see ~5.6× follower growth per LinkedIn data) | Don't burst 10 posts then go silent for two months |
| Use 0–3 hashtags in posts as searchable keywords | Don't build a hashtag strategy — LinkedIn killed hashtag feeds/following in 2024–2025 |
| Wait on Showcase Pages until a product line truly needs its own audience | Don't split a small following across Showcase Pages on day 1 |
☑ Definition of Done
- Page created under the client's personal account (not agency-owned)
- Name, URL, website, industry, size, and type all correct
- Logo (400×400) and banner (1128×191) uploaded and previewed on desktop + phone
- Tagline + full About text + Specialties + Location(s) filled in
- Custom button configured and tested
- Two or more super admins; agency added at the right role; client holds super admin
- First post published
- Employees linked as current staff; follow invitations sent
- Verification status checked in Settings
- All logins recorded in the client's password-manager entry
- 📸 screenshots captured at every marked step and saved to
images/